eCon Welding Modern Custom Welded Table Bases

INSTALLATION INSTRUCTIONS

WOOD TOPS


Most wood will expand and contract as the humidity and temperature levels rise and fall. A base that can accommodate this expansion and contraction is crucial for the long-term durability of your table. Almost all of our products come standard with slotted or oversized holes that will allow the mounting screws to move through the hole with the shifting wood. Mounting fasteners are not included with our products, as there is no universal mounting system and there is wide variety of different hardware requirements depending on the details of the top. But for most wood tops, a #8 or #10 wood screw is the preferred diameter. If possible, you generally want at least ¾” of screw depth into the wood. The screw finish, head style, and drive type are completely up to you.

When mounting a base or table legs to a wood top, it is typically recommended to assemble the table upside down with the legs sticking up in the air. Place the legs in the desired location and use a tape measure to ensure the legs are equally spaced from the ends and centered. Drilling a pilot hole is almost always recommended to prevent the mounting screws from splitting the top. An 1/8” drill bit works great for most wood screws. If the top is relatively thin, a drill stop should be used on the drill bit to prevent the bit from accidentally drilling all the way through the table. The pilot holes should be drilled in the center of the mounting holes. Washers should also be used with the screws. This prevents the screws from burrowing into the metal mounting hole and creating a “nest” there which will prevent the screw from moving with the expansion and contraction of the top. Avoid over-tightening the screws, as this may strip the wood.

After the entire base or all of the table legs are tightly mounted to the table, get some help and flip the table over. If the leveling feet (if applicable) are not already installed, make sure the feet are fully threaded in before flipping the table

Custom Table Legs Installation Instructions for Wood Table Tops

Installation Instructions for Stone Table Tops on Custom Table Legs

STONE TOPS


It is recommended that a sheet of ¾” plywood be glued to the underside of the stone, as this will provide additional support to the fragile stone as well as create a suitable mounting surface for the table legs or base to mount to. As with wood tops, stone top tables should be assembled upside down, and flipped over when complete.

When mounting table legs to plywood, it is typically recommended that you use threaded inserts into the plywood and machine screws to bolt the base to the plywood. Wood screws with the relatively thin mounting thickness can eventually wear out, causing the table to wobble and sway. Threaded inserts can be difficult to install, but they create a much stronger mount than standard wood screws.

If there is no plywood adhered to the stone, the metal legs or base can sometimes be screwed directly into the stone top using concrete anchors, or it can be glued directly to the top. In some cases, if you have a free-standing base, the top can simply be placed on top of the base, preferably with the use of silicone or rubber mounting pads to prevent the top from shifting. It is always recommended that you get advice and a recommendation from the stone top fabricator, as different stones and top thicknesses can have vastly different mounting requirements.

Installation Instructions for Glass Table TopsGLASS TOPS


If you inform us that the base is to be used with a glass top, we typically make the base a little different. We don’t put mounting pads or plates on the top of the base, and the top is finished off smooth so it has an attractive appearance through the glass. We also include rubber bumpers that stick to the top of the metal base for the glass to rest on so there is no metal-to-glass contact, which can cause rattling, scratches, and possible crack the glass.

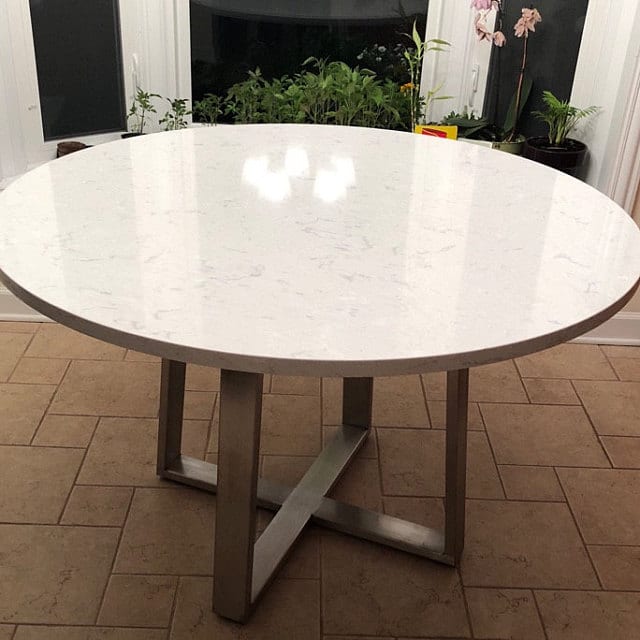
We always recommend using a free-standing base with glass tops, such as any of our single piece or bolt-together table frames, or table legs such as the T-Shaped or Triangular Style table legs. Some table manufacturers do use an epoxy to glue standard table legs to glass tops, but we do not recommend this approach, as if this is done improperly and the adhesive fails, the entire table will collapse.

The installation of glass tables is as simple as placing the rubber bumpers on the base in the desired locations, and placing the glass on top of the base. If you do no wish to use the rubber bumpers, we recommend using silicone to lightly glue the top to the metal base. Glass tables should never be assembled upside down using an adhesive to mount the top to the base.

Mini Cart 0

Your cart is empty.

c